Step 1: Install and open the Shoviv OLM Converter to convert OLM to PST.
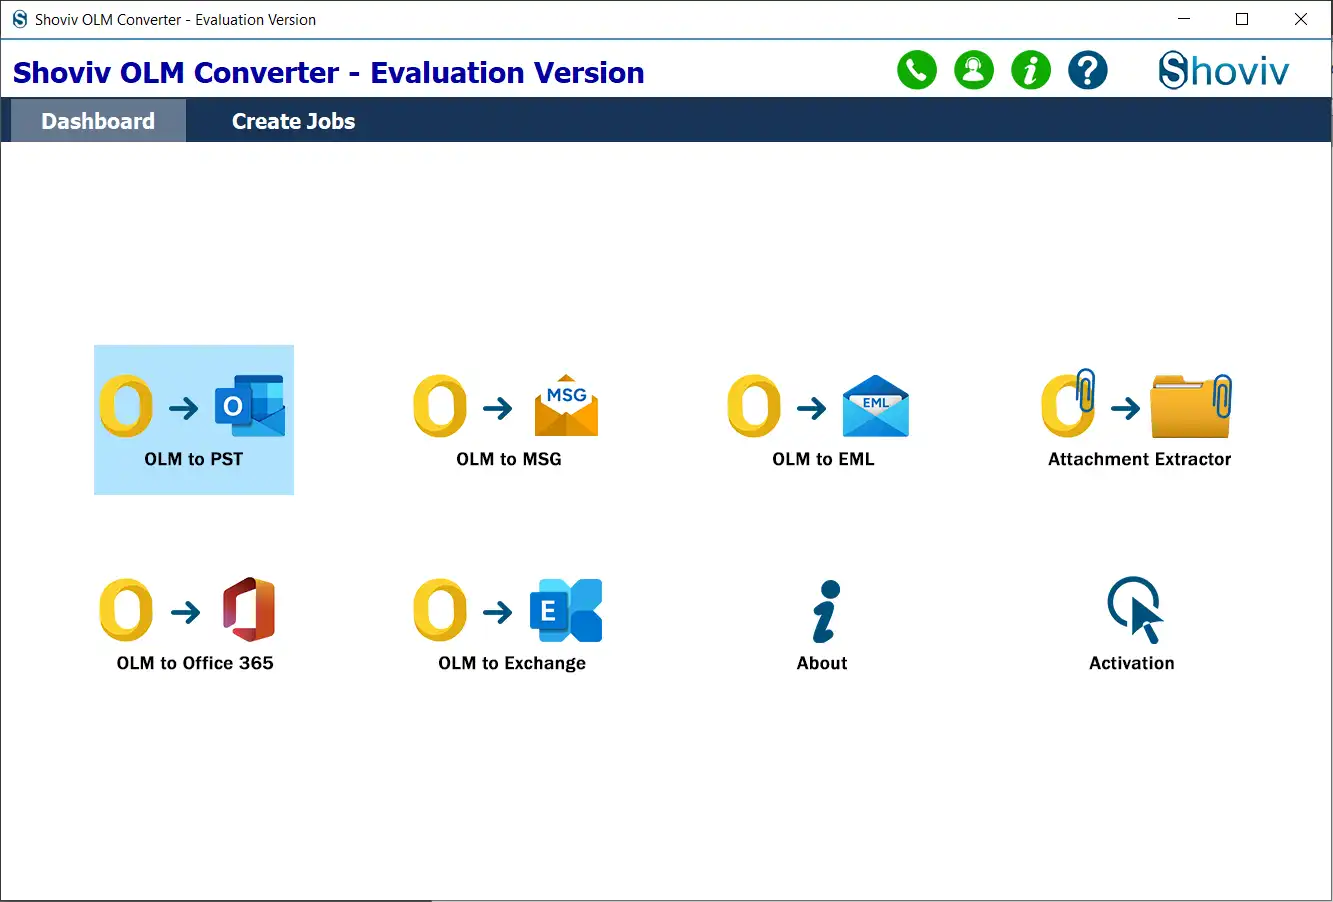
Step 2: From the dashboard, select the OLM to PST option.
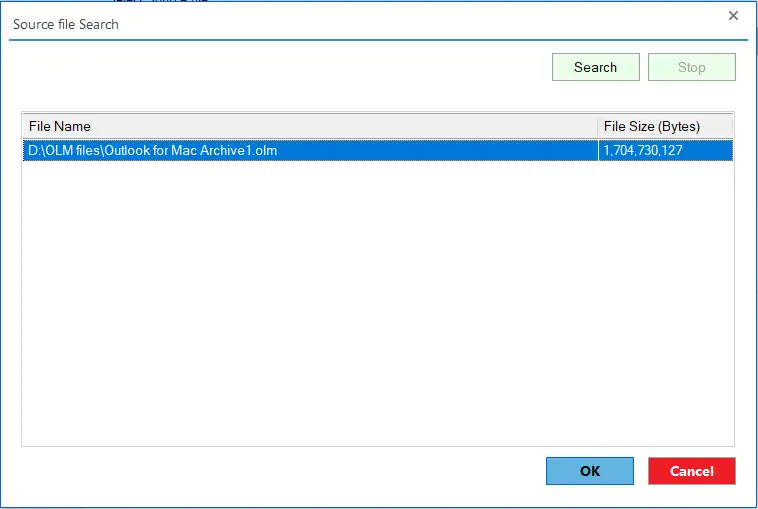
Step 3: Tap the Browse button and choose the OLM files from the system to convert.
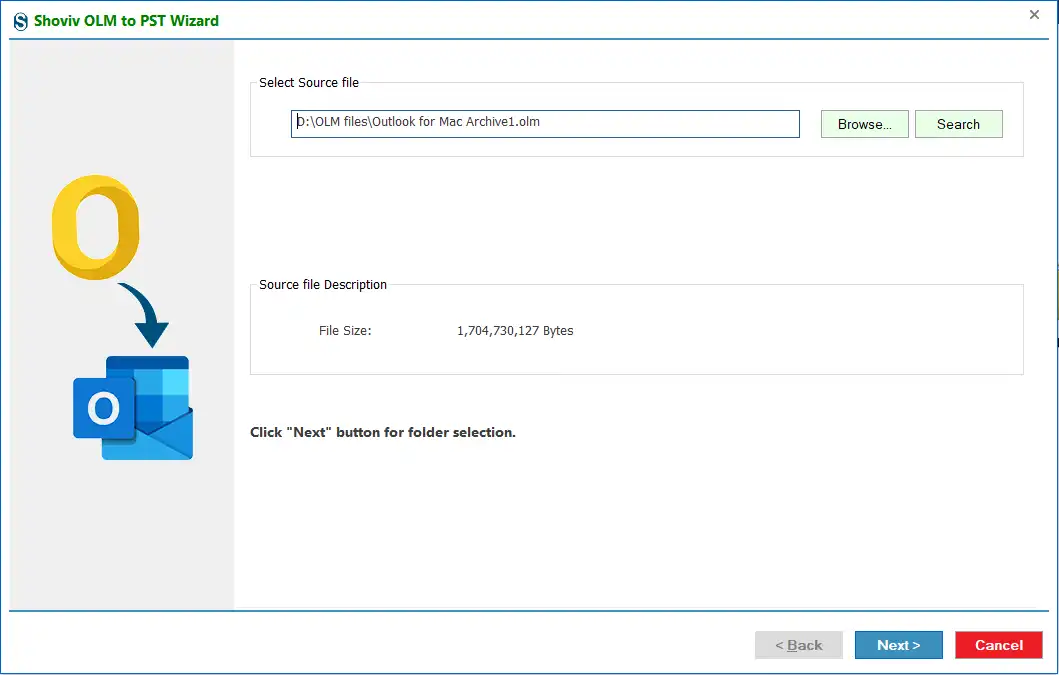
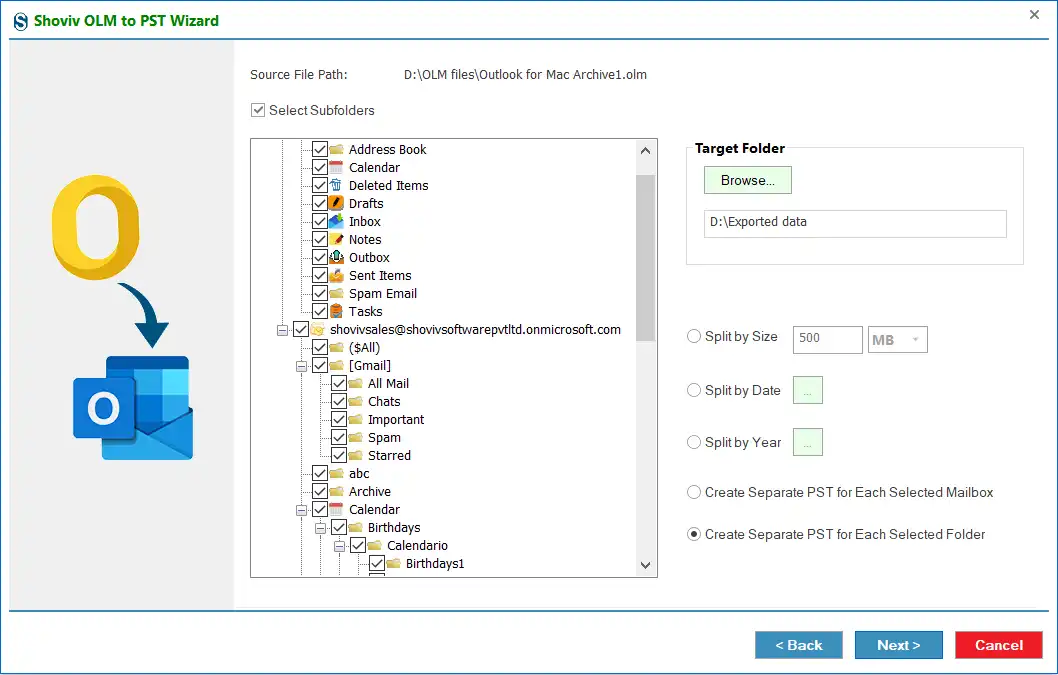
Step 4: After that, check the Select Sub Folders option to include all subfolders in the OLM to PST conversion task. You can also select manually to add particular subfolders from the list.
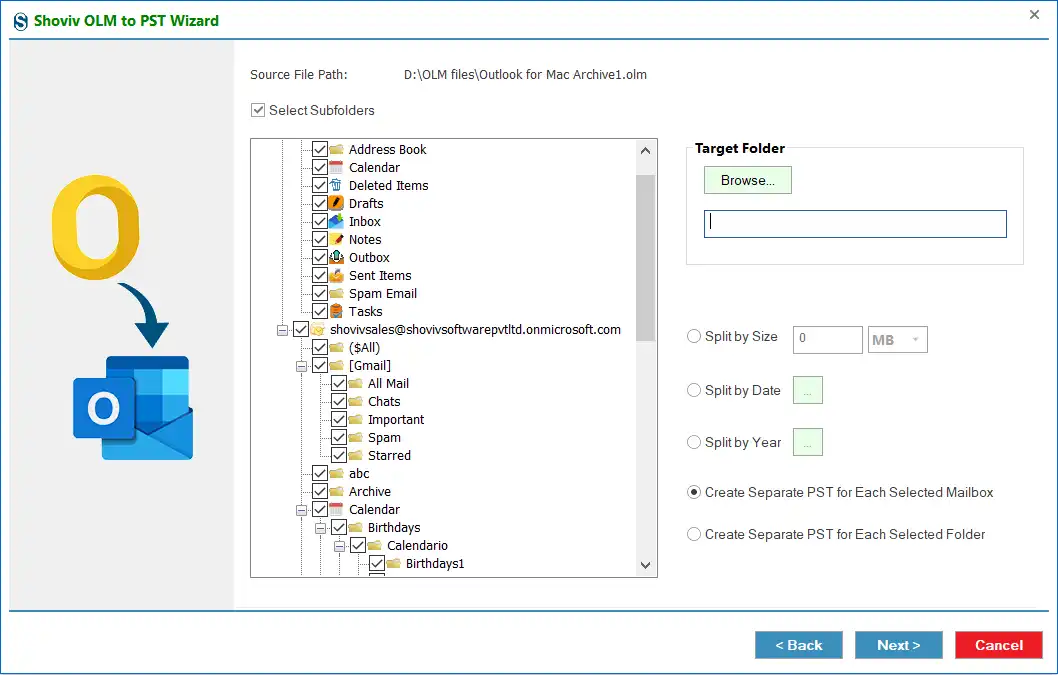
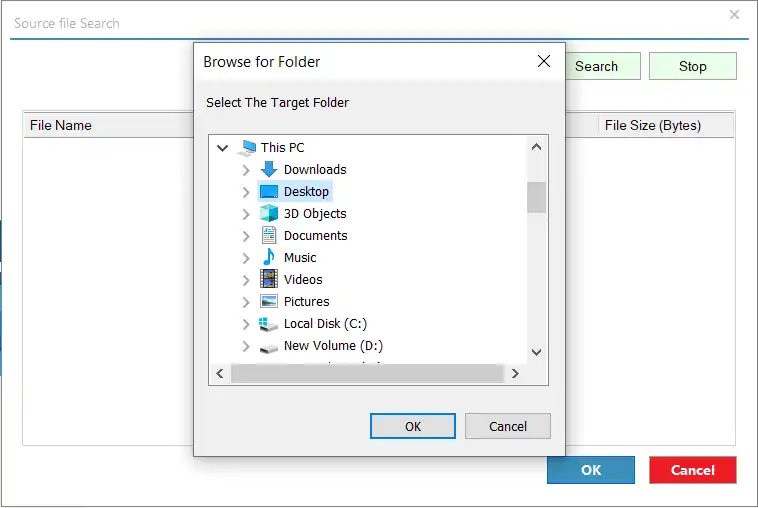
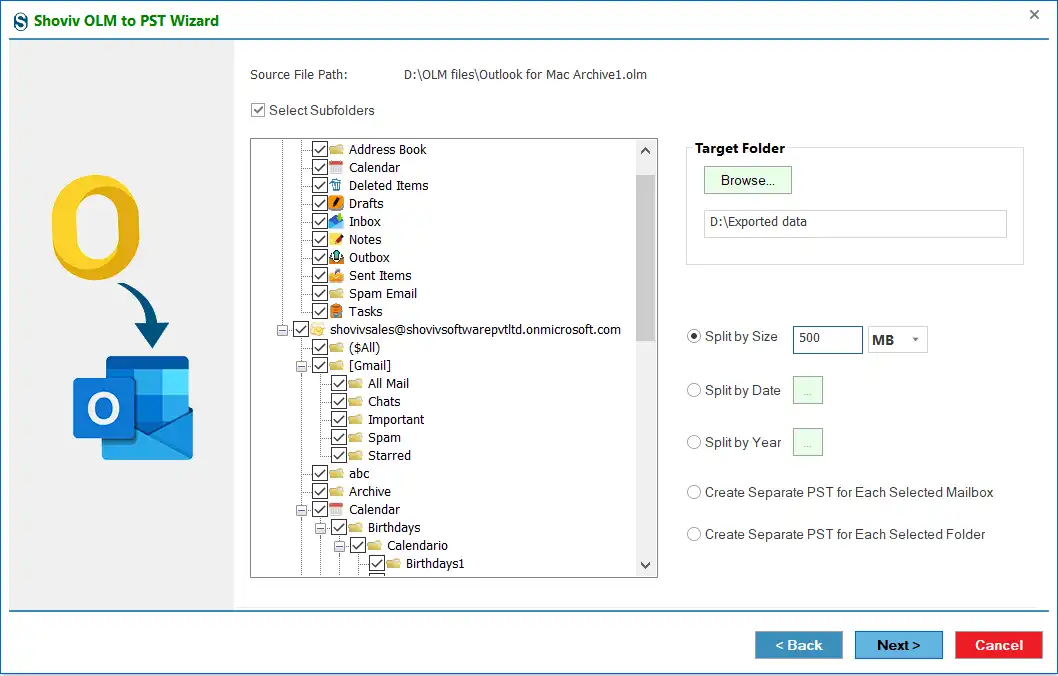
Step 5: In the Target Folder section, click the Browse button and select the location where you want to save the resultant PST file.

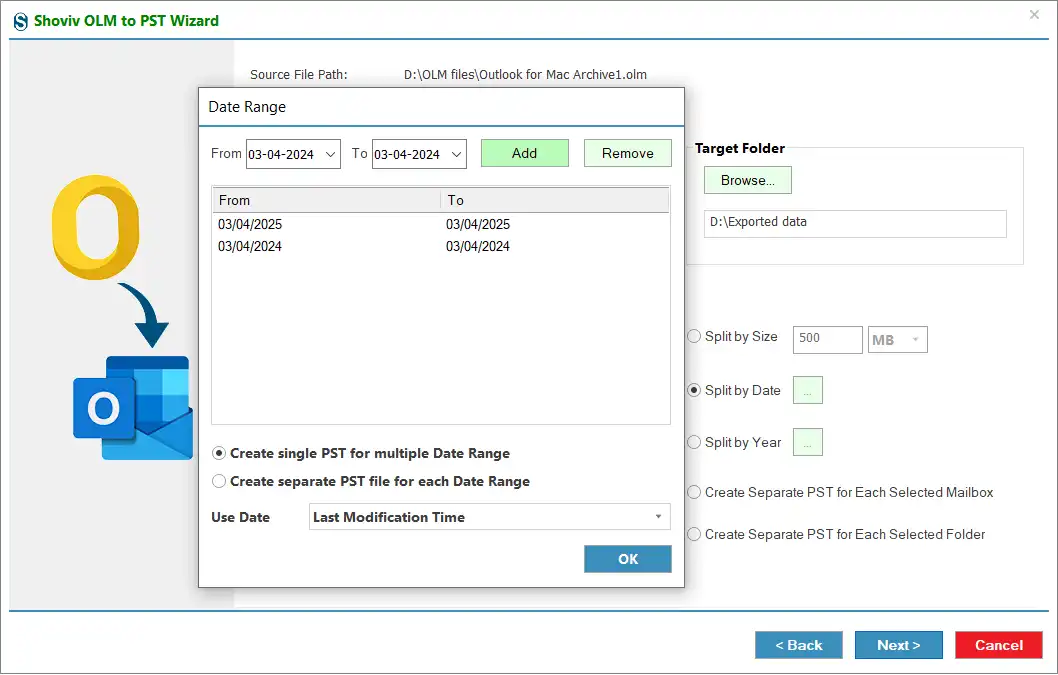
Step 6: You can use Size/Date/Year option to split/manage resultant PST file.
- Size: Set a size to split the output PST file.
- Date: Apply date ranges as per your task requirements to split/manage the PST file data in the target.
- Year: Manage data year-wise by splitting resultant PST by year.
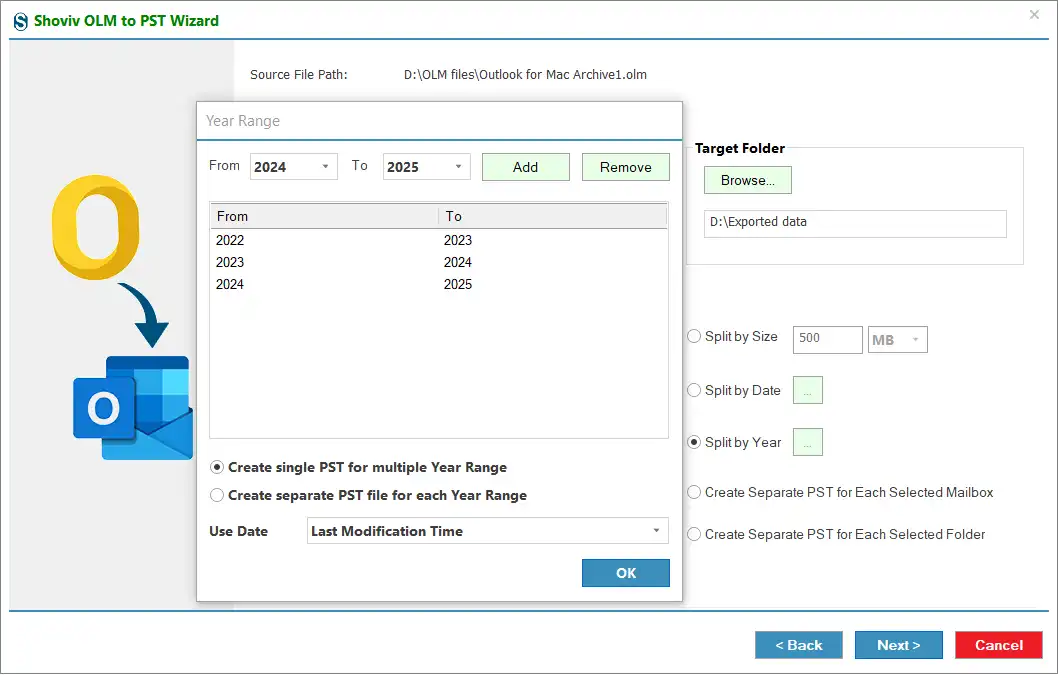
Step 7: You can also choose the option to create a single or multiple PST for the selected folder/mailbox: Create Separate PST for Each Selected Mailbox or Create Separate PST for Each Selected Folder . After that, click the Next button.
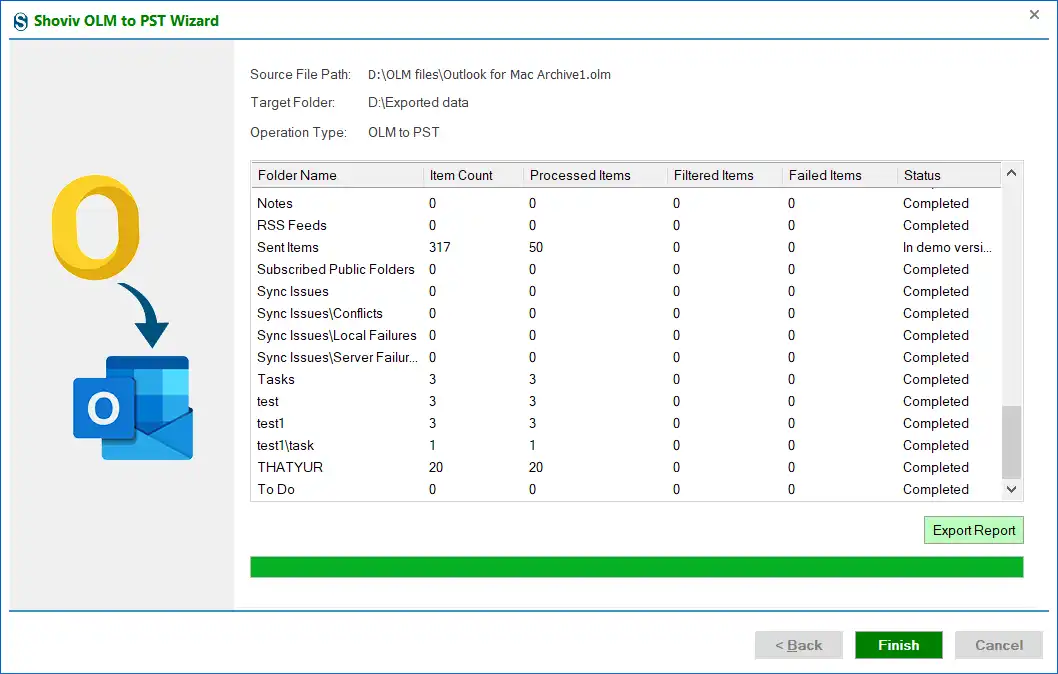
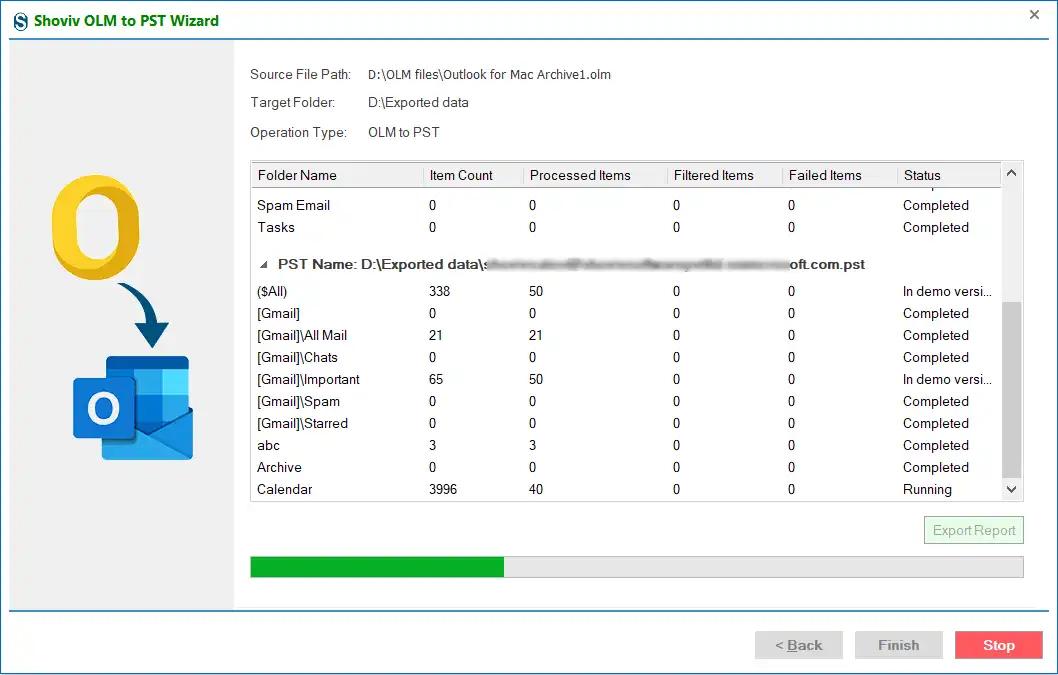
Step 8: The OLM Converter will begin conversion. Wait till the OLM files convert to PST format and click the Export Report to save the OLM to PST conversion summary.
Step 9: Finally, click the Finish button after completing the task using this OLM Converter Tool.