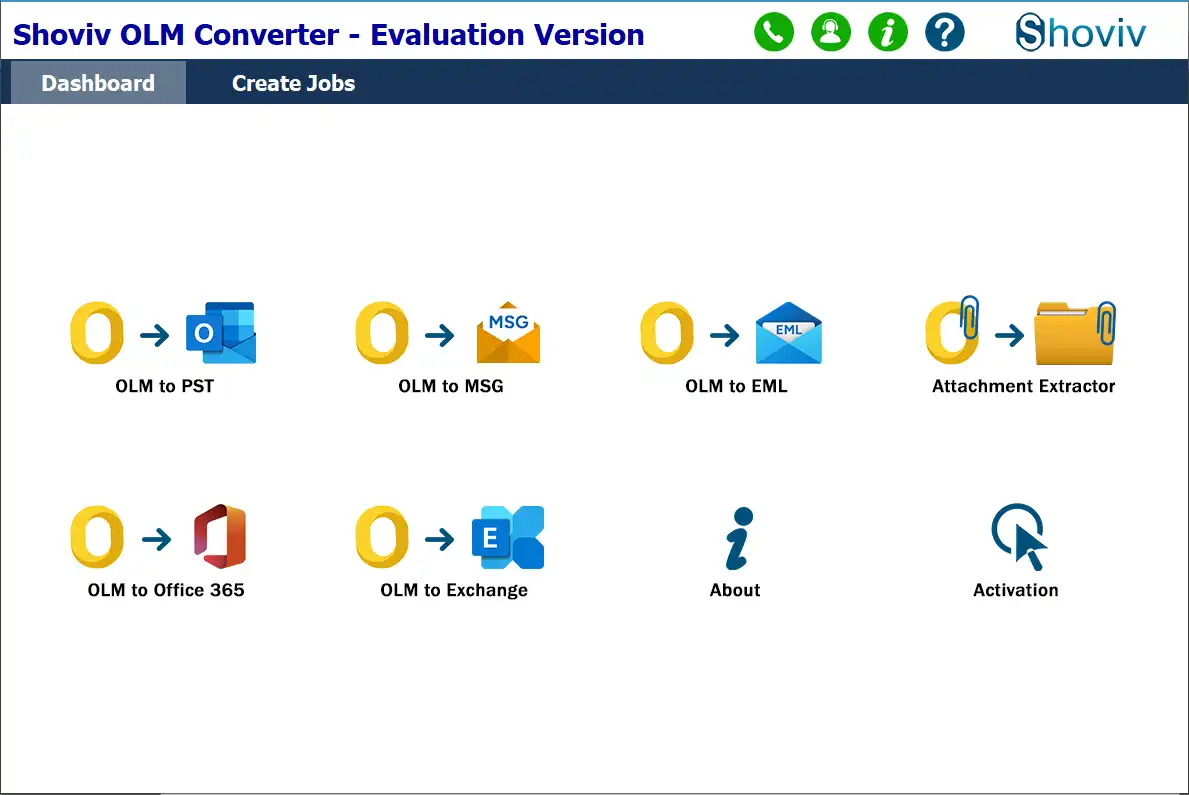
Step 1: Launch the Shoviv OLM Converter software on your Computer.
Step 2: After that, select the OLM to Office 365/OLM to Exchange option as per the requirement from the dashboard.
Step 3: Click the Add File button and select the OLM files you want to migrate. You can also use the CSV file to add multiple OLM files at once.
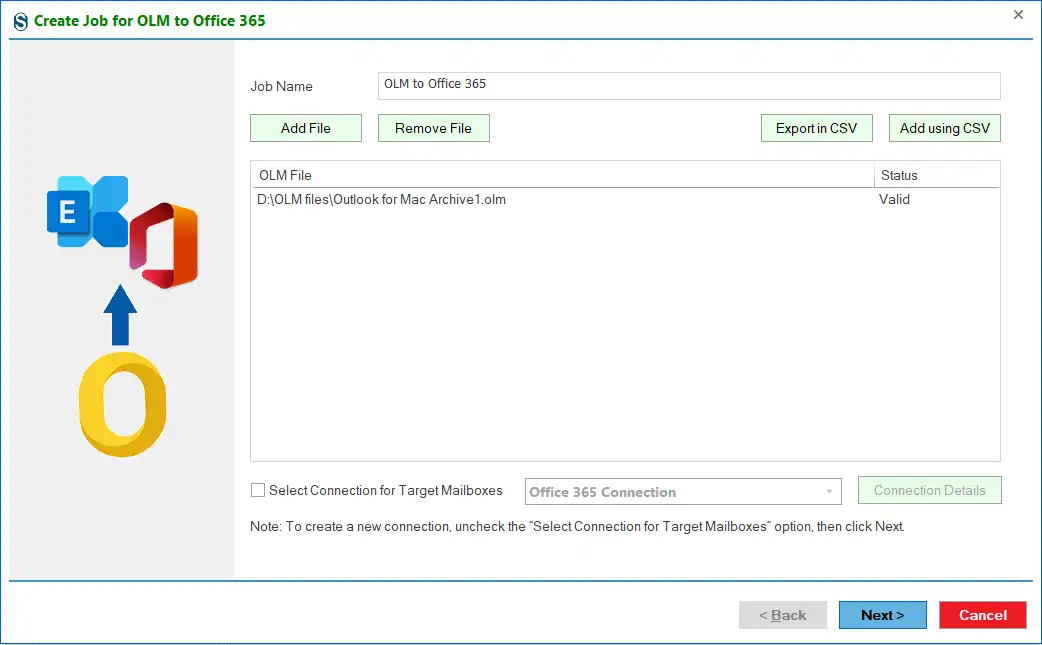
Step 4: Once you have selected the OLM files, now you have to create a job/project. Give a name to the job and press the Next button.
Step 5: Afterwards, you need to create the target Connection (Exchange Server/Office 365) by entering your details.
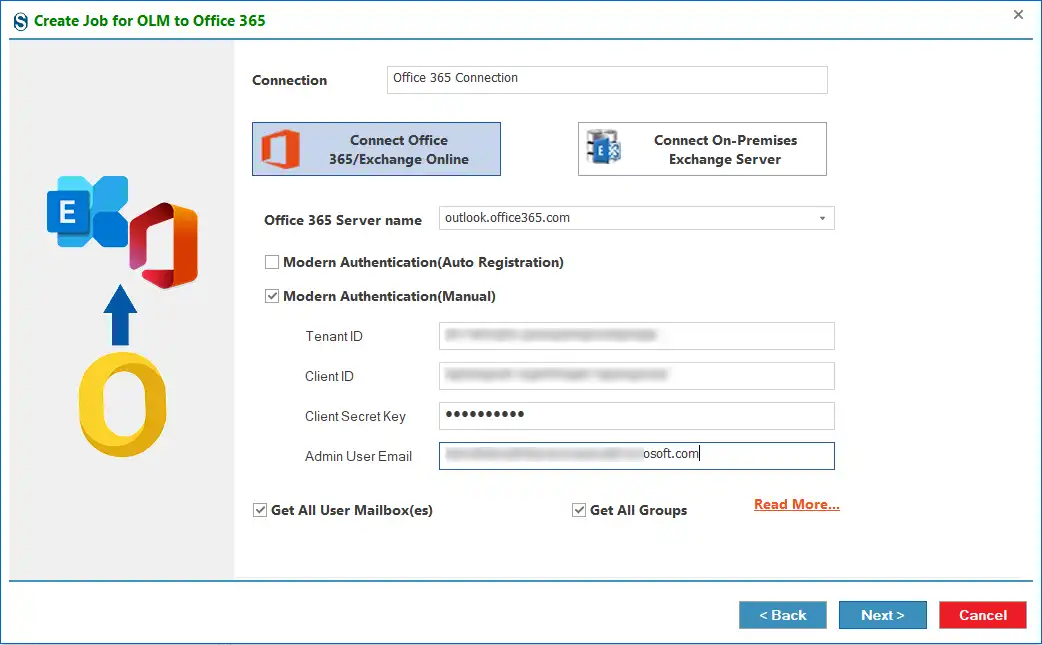
- For Office 365 Connection: You have two ways to connect Exchange Online.
- By Modern Authentication (Auto Registration):
- Check Modern Authentication (Auto Registration), click the Next button and enter your Office 365 details, such as admin email address and password.
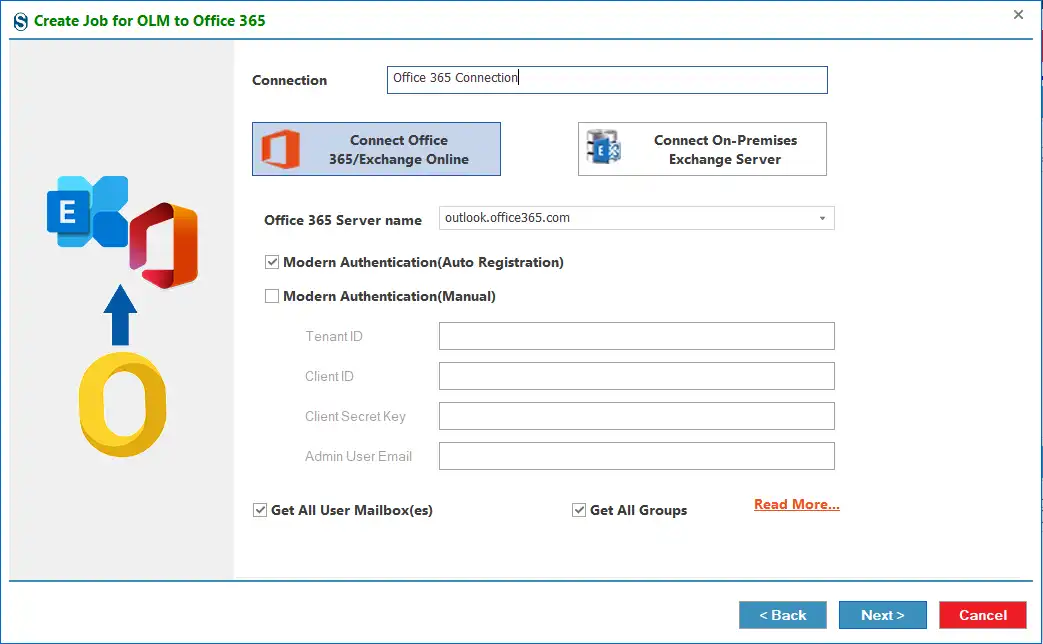
- By Modern Authentication (Manual):
- Check Modern Authentication (Manual) and enter your Office 365 details, such as Tenant ID, Client ID, and other details (To know more about the Tenant ID, Client ID and Client Secret Key, click on the Read More..) .Then, tap the Next button.
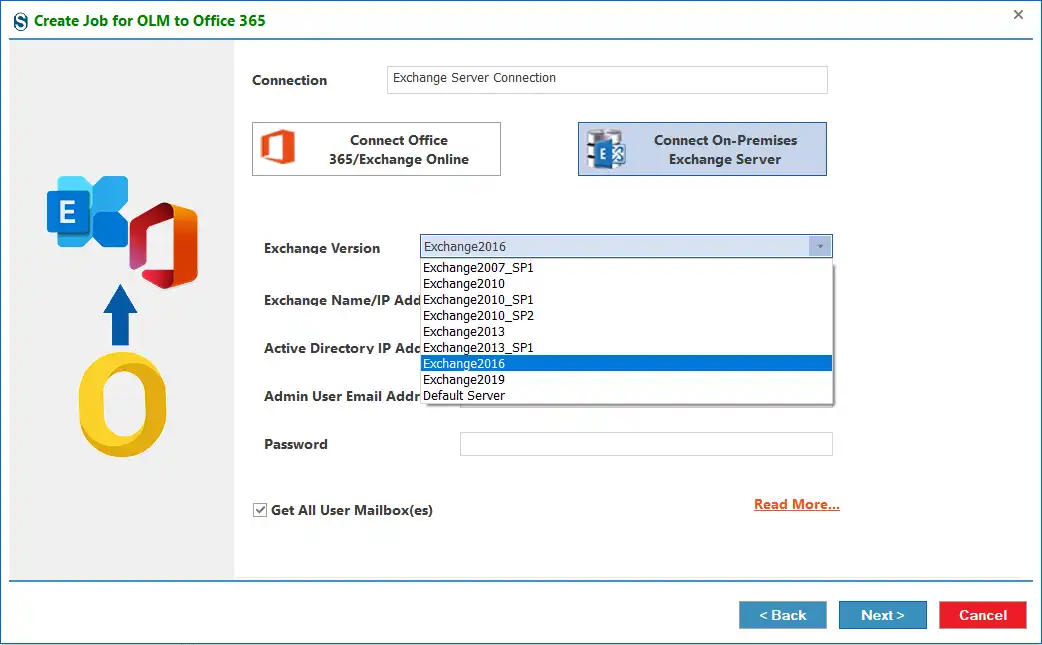
- For On-Premises Exchange Server Connection:
- Select the Connect On-Premises Exchange Server, enter the Connection name, and choose your Exchange Server version.
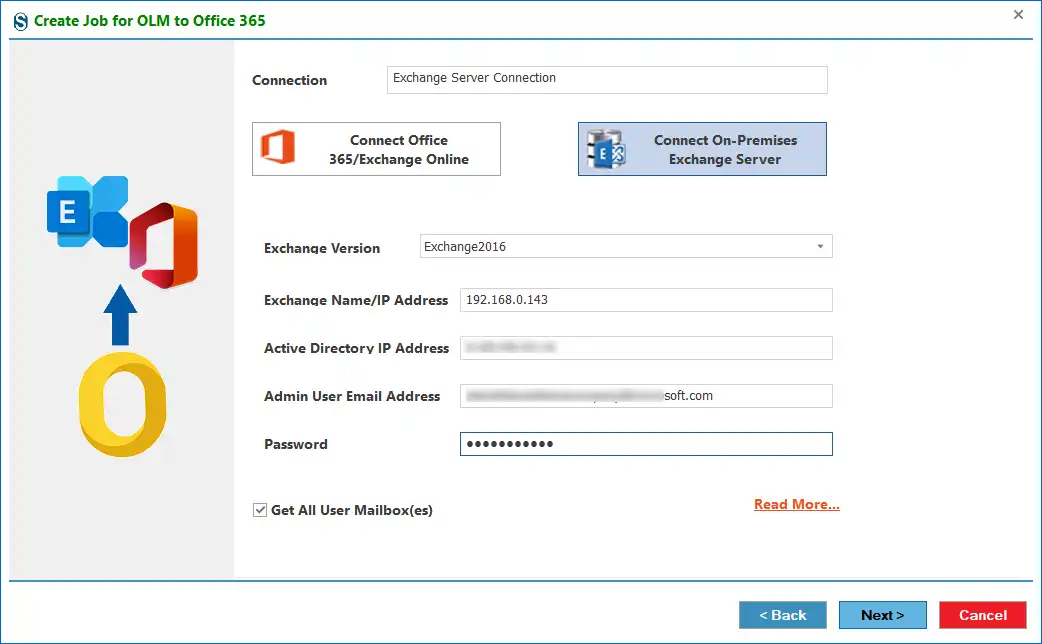
- Then, enter your Exchange Server details, like Exchange Name/IP Address, Admin email address, etc. After that, check the Get All User Mailboxes option and click the Next button.
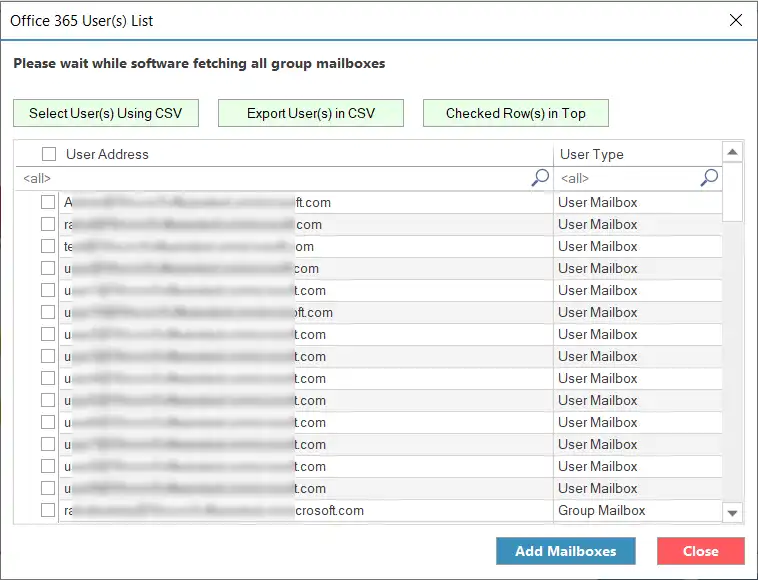
Step 6: Select the Office 365/Exchange Server mailboxes from the list and hit the Add mailboxes button.
Step 7: Map the source OLM file to the Office 365/Exchange Server mailbox, click the Migrate In dropdown, and select the mailbox type: Primary Mailbox/Public Folder or Archive Mailbox.

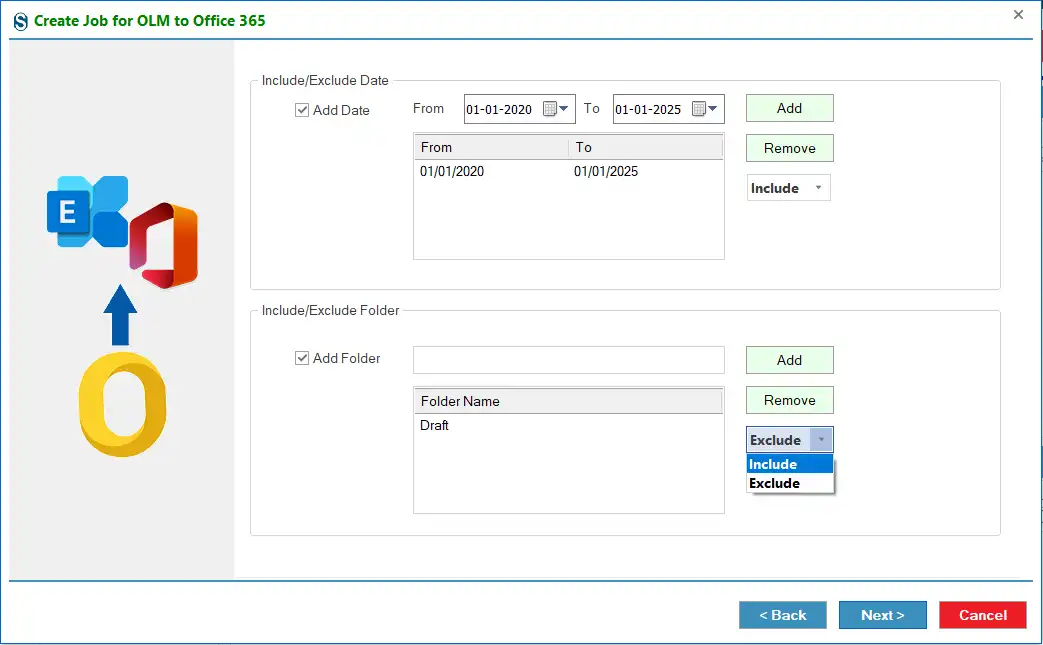
Step 8: Here, you can apply the date range and folder criteria to filter OLM file items if needed. Thereafter, hit the Next button.
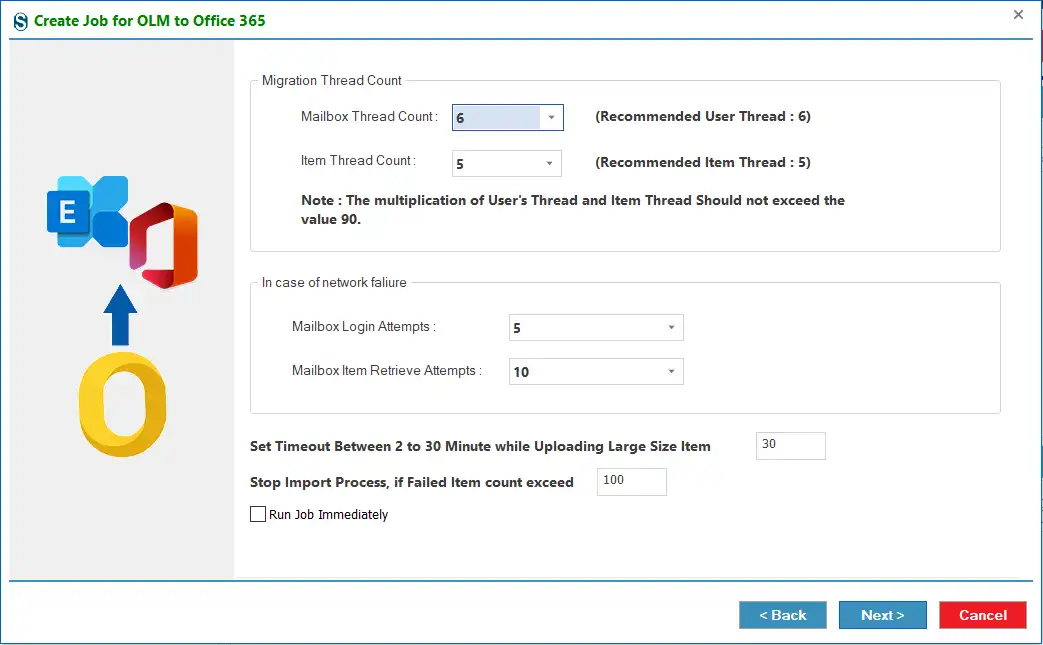
Step 9: Afterwards, you can set the migration thread count and login attempts in case of network failure. After that, kindly fill out the time between 2 to 30 minutes for large-size items, control the failed items count if necessary or you can also keep settings as default and hit the Next button.
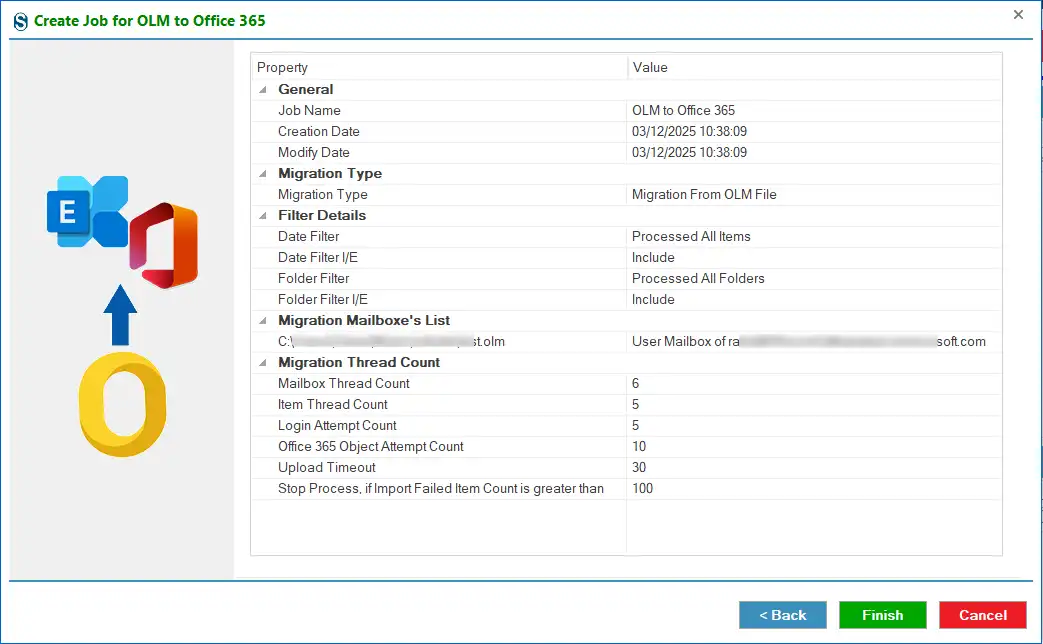
Step 10: Finally, confirm the migration job settings; if you find everything alright, kindly, hit the Finish button.