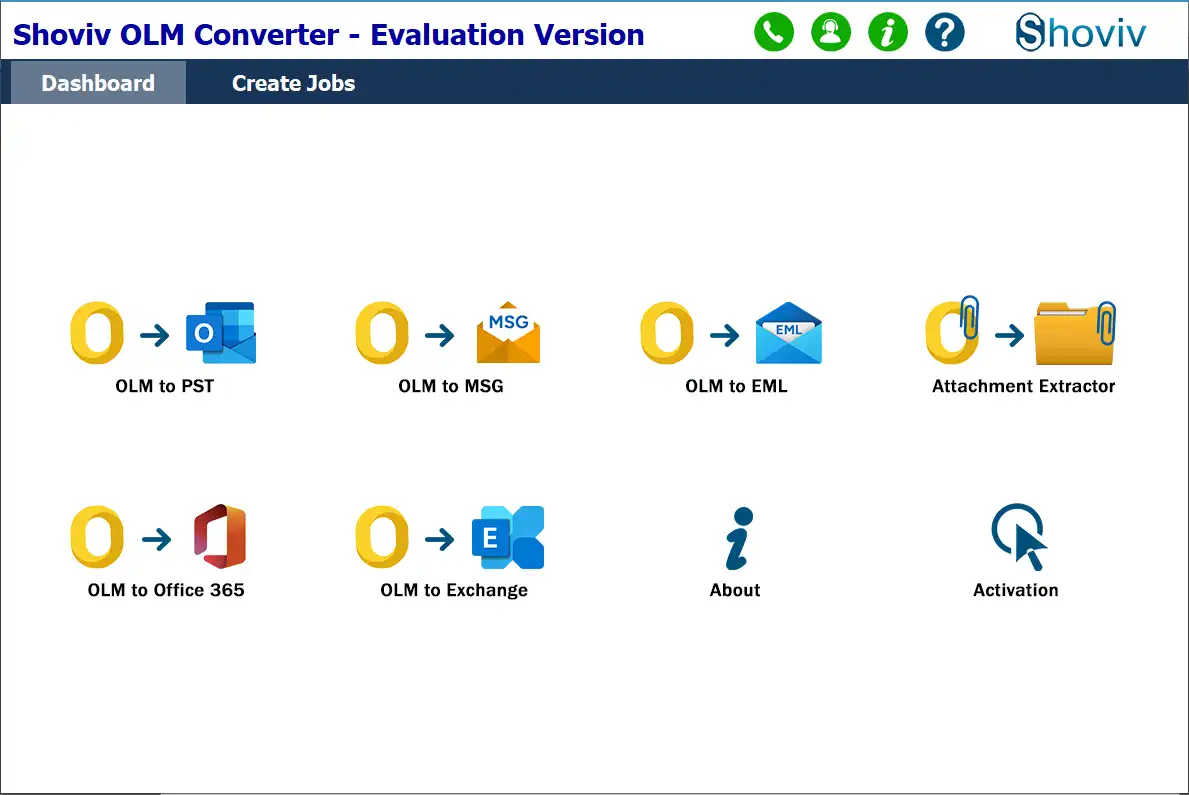
Step 1: Install and open the Shoviv OLM Converter.
Step 2: Next, choose the OLM to EML option for EML, or choose OLM to MSG for MSG, from the dashboard.
Step 3: To add the OLM files, there are two options: Browse and Search.
- Browse: If you know the exact location of the OLM file, then use the Browse option and select the OLM file for conversion.
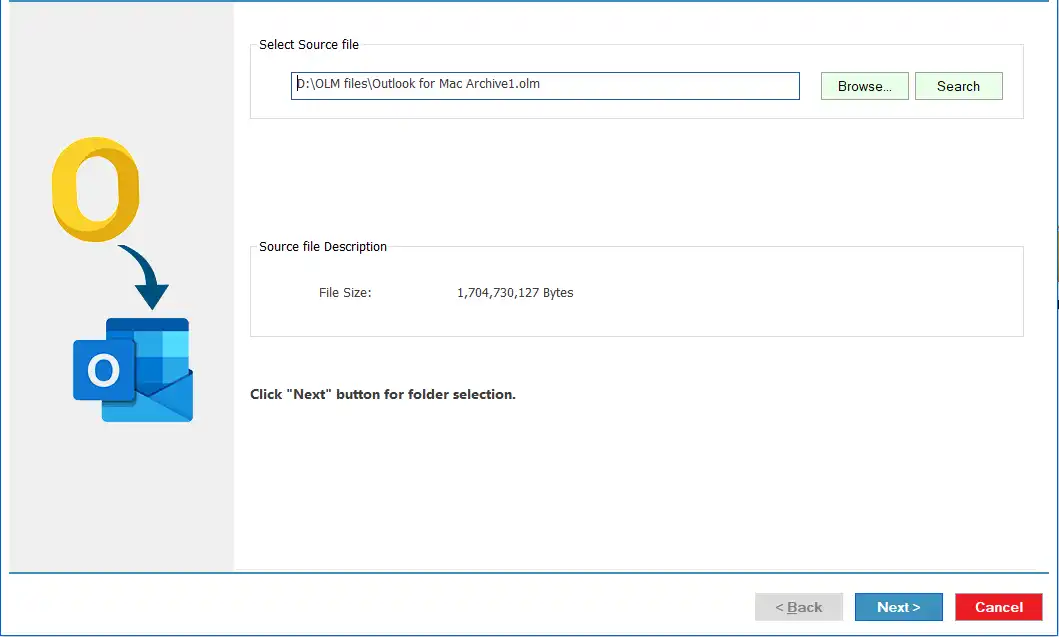
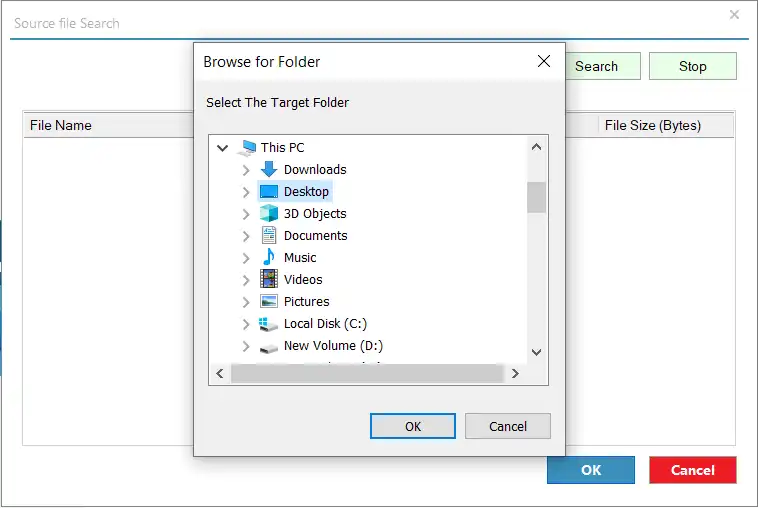
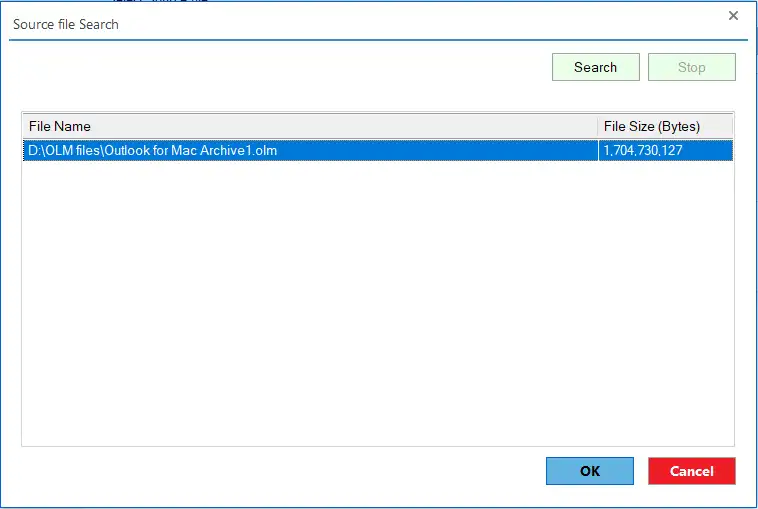
- Search: If you need to find the OST file within a specific folder, proceed with the Search option.
- After selecting the OLM files, continue with the OK and Next button.
Step 4: Select the Sub Folders from the list to include specific ones in the task. You can also check the Select Sub Folders option to choose all in one go.
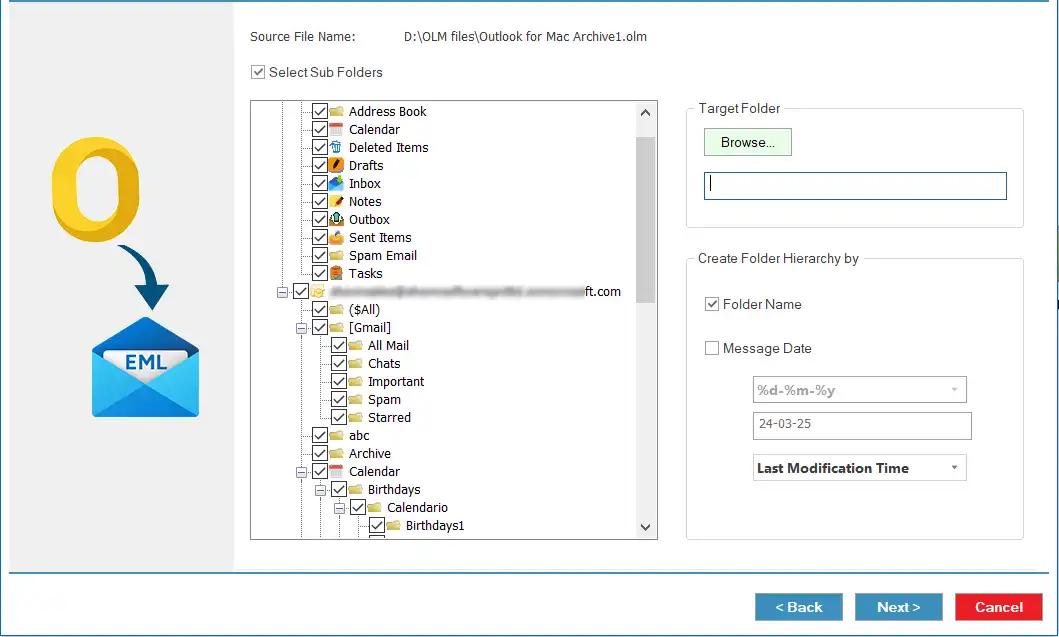
Step 5: Then navigate to the Target Folder and click Browse to choose a folder for saving the output file.
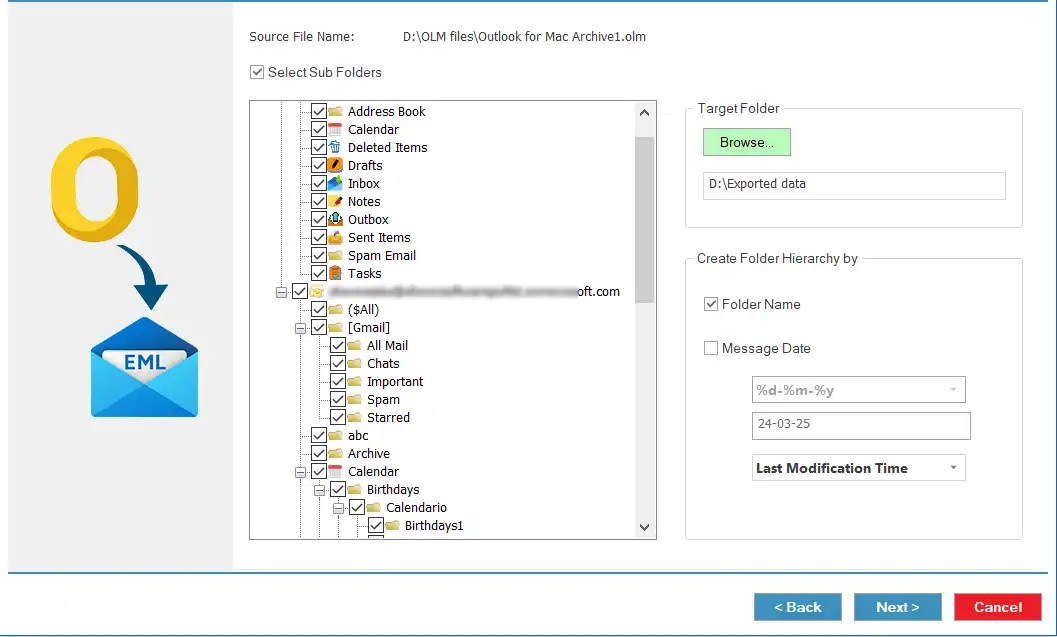
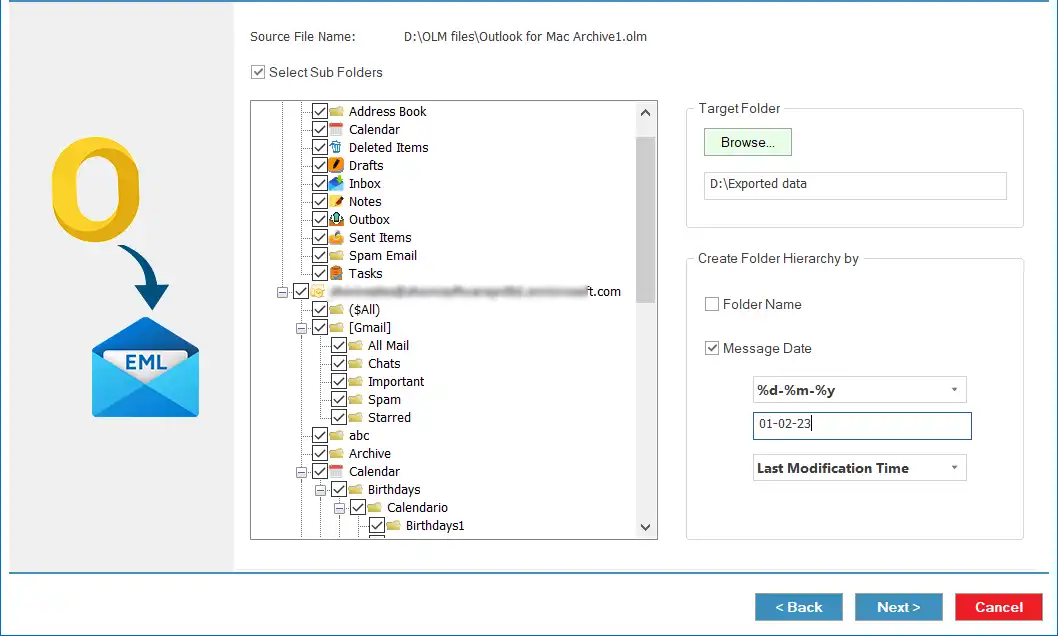
Step 6: Here, we have options for the hierarchy of the resultant files. By default, it creates hierarchy based on folder name. However, you can also select the Message Date.
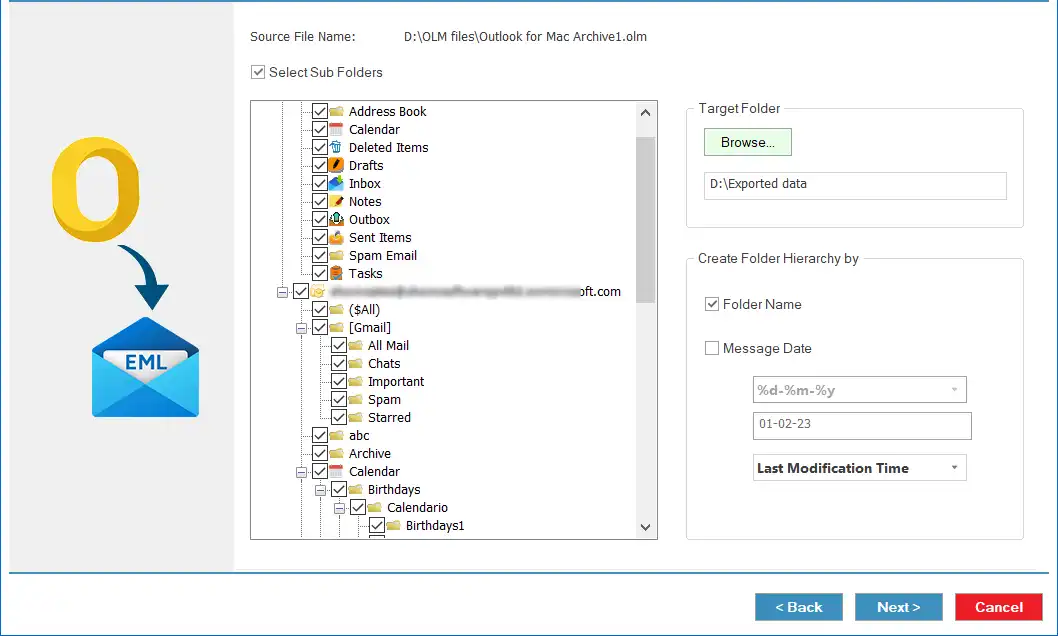
- Kindly select the date if you have opted for the Message Date option.
Step 7: Now, the tool will begin converting OLM files to MSG/EML format.

Step 8: Wait till the conversion gets completed. Then, you can click the Export Report button to save the detailed conversion summary, and tap the Finish button.


